Appearance
The Workflow Editor
To open the workflow editor, go to the details page of your service and click on Edit Service/Workflow
Start Editing
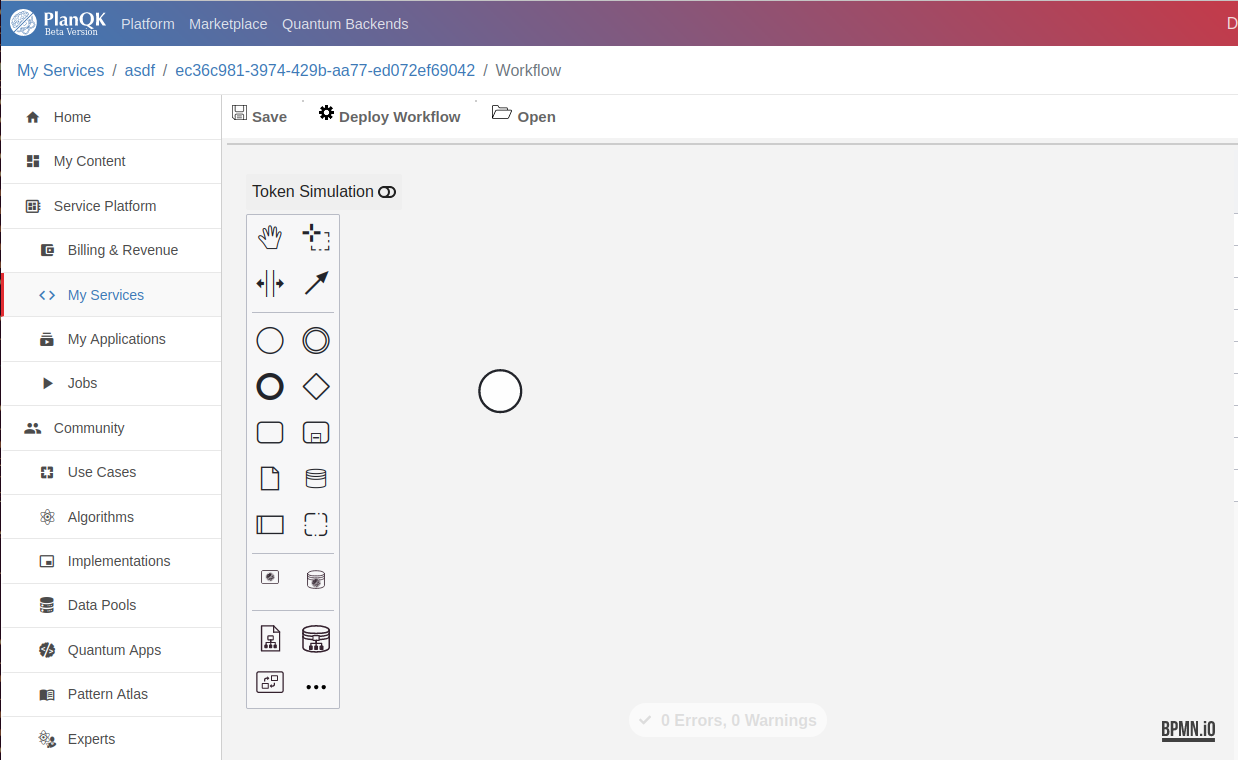
When you start editing the first time, the workflow consists only of the start node:

On the left side you find a panel which contains all possible node-types. Drag and drop a node into the editor area to start editing the workflow.
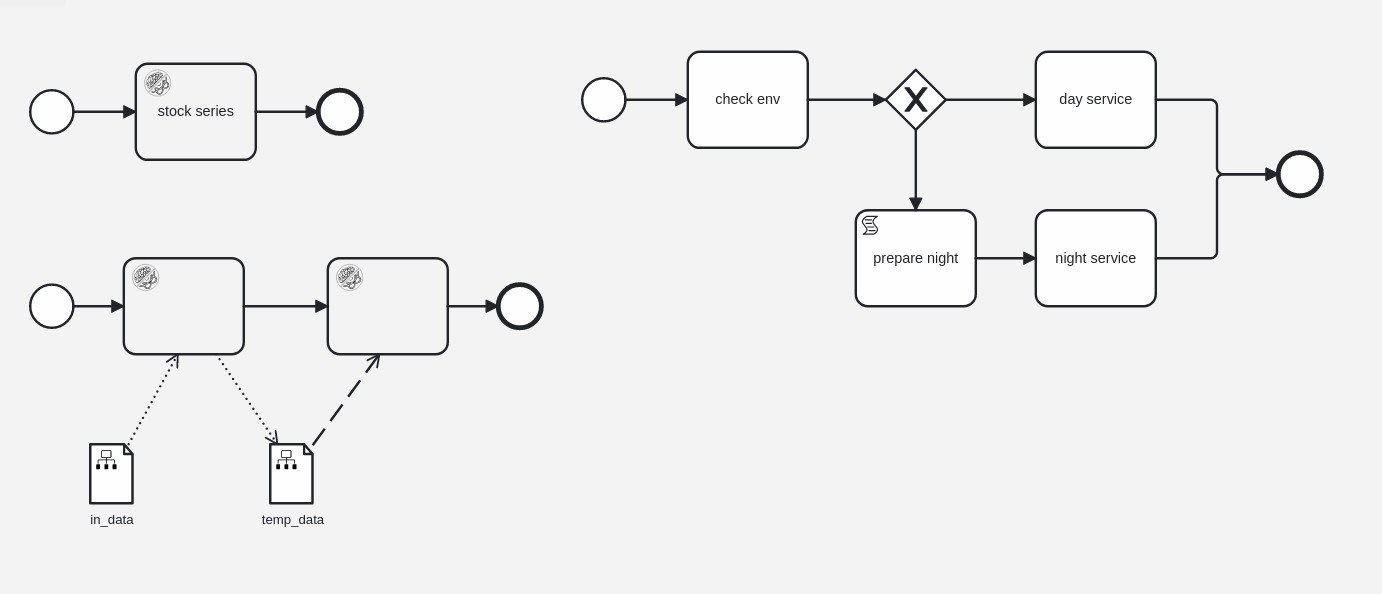
Here are some examples of how a workflow may look like at the end:

BPMN
The workflows are based on the BPMN standard. For a more detailed description of how BPMN works, visit the related documentation on Camunda e.g. Camunda BPMN.
Nodes
Here you find a brief description of the main node types, needed to build a useful PLANQK-workflow.
| Node Type | Image | Description |
|---|---|---|
| Start |  | The entry point for each workflow. |
| End |  | The final node. Here the execution ends. |
| Service Task |  | References a subscribed PLANQK-Service. When executed, the PLANQK-service is called. |
| Gateway |  | Dependent on a condition the service flow can continue with different branches. |
| Data Map Object |  | Here you can define input/output data for you service invocations. |
Add a PLANQK Service Node
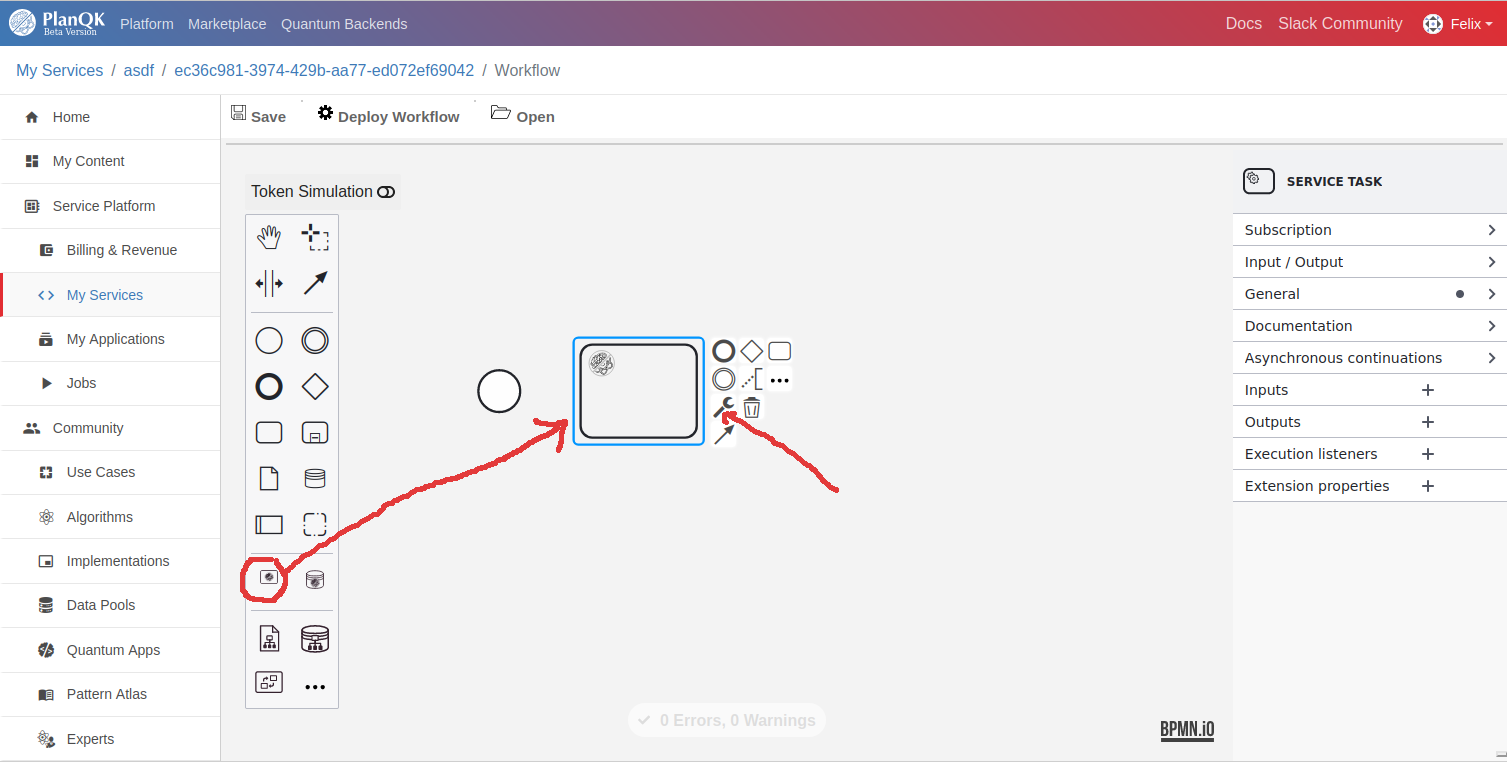
To call a PLANQK service you have to add a service node and assign the service you want to call.

Click on the change type icon and then on PLANQK Service Tasks. From the list of services, choose the one you want to call here.
NOTE
Only services you are subscribed on can be used within a workflow.
Configure input data for the service node
Assume the service node needs an input parameter with name "date" and type "string". You can either directly hard code this input value in the service node or configure a parameter name which then has to be given at call time.
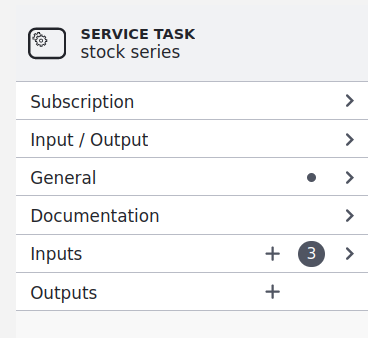
In both cases, click on the service node to open the content menu on the right side of the editor.

Click on the plus icon of the Inputs row.
If you want the parameter to be hard coded, just enter "date" as name and the wished date in the correct format, e.g. "2024-04-01" as value.
If you want the parameter to be taken from the list of parameters you pass at service invocation, enter "data" as name and a reference to the parameter name where you pass the value later, e.g. ${myServiceData}.
Add a Data Object to pass Input data to Node
An alternative way to configure input and output data is to add data objects to the workflow, connect them with the service nodes, and configure the data within these data objects. An advantage of this is, that the data-flow is more explicit visible within the workflow.
The behaviour is the same, it is also possible to mix data configuration at service node with data configuration via data objects.
NOTE
If an input parameter is defined in both ways, at the service node and via a data object, the configuration via data object has the higher priority.
NOTE
If input data is hard coded in the workflow, it is not possible to overwrite the data at call invocation. So it is not possible to pass different data for different execution runs of the workflow.

