Appearance
Deploy a Demo
On this page you will learn how to deploy a Demo for your Use Case. You will learn how deployments work, the requirements for host and port configuration, and how to deploy a Demo step-by-step.
How deployments work
To deploy a Demo, simply connect a GitHub repository. The platform always deploys the default branch of your repository and automatically triggers a re-deployment every time you push to the default branch. Each deployed Demo has a resource limit of 1 CPU and 512 MiB of memory and automatically scales to zero when not in use.
Host and port configuration
Your Demo application must listen for requests on 0.0.0.0 on the port 8080.
CORS configuration
Your webserver configuration must allow cross-origin requests (CORS) from Kipu Quantum Hub. This is necessary to allow users to view your Demo application direclty via the platform .
WARNING
Besides the configuration of the Access-Control-Allow-Origin and the Access-Control-Allow-Methods corresponding to your demo application, you must allow the following headers in your CORS policy:
AuthorizationContent-TypeX-OrganizationId
Gradio CORS configuration
An example CORS configuration for a Gradio app would look like this:
python
import gradio as gr

def your_function(input):
    return "Hello, " + input

app = gr.Interface(fn=your_function, inputs="text", outputs="text")

# Launch with custom server settings and CORS headers
app.launch(
    server_name="0.0.0.0",
    server_port=8080,
    allowed_origins=["*"],
    allowed_headers=["Authorization", "Content-Type", "X-OrganizationId"]
)
NGINX CORS configuration
An example configuration using NGINX as a webserver could look like this:
nginx
  server {
    listen 0.0.0.0:8080 default_server;
    server_name _;

    root   /usr/share/nginx/html;
    index  index.html;

    location / {
      try_files $uri $uri/ /index.html;

    # CORS Headers
    add_header 'Access-Control-Allow-Origin' '*' always;
    add_header 'Access-Control-Allow-Methods' 'GET, POST, OPTIONS' always;
    add_header 'Access-Control-Allow-Headers' 'Authorization, Content-Type, X-OrganizationId' always;


      # Handle preflight
      if ($request_method = OPTIONS) {
          return 204;
      }
    }
  }
A step-by-step guide to deploy a Demo
A simple way to create a Demo is to use the Gradio python library. Gradio lets you build interactive web interfaces in a matter of minutes. Check out our Gradio starter template. Alternatively, you can deploy any other web app of your choice using Docker.
The following steps show you how to deploy a Demo for your Use Case.
Prerequisites:
- A Use Case you want to deploy a Demo for. Alternatively, create a new Use Case.
- A fork of our Gradio starter template.
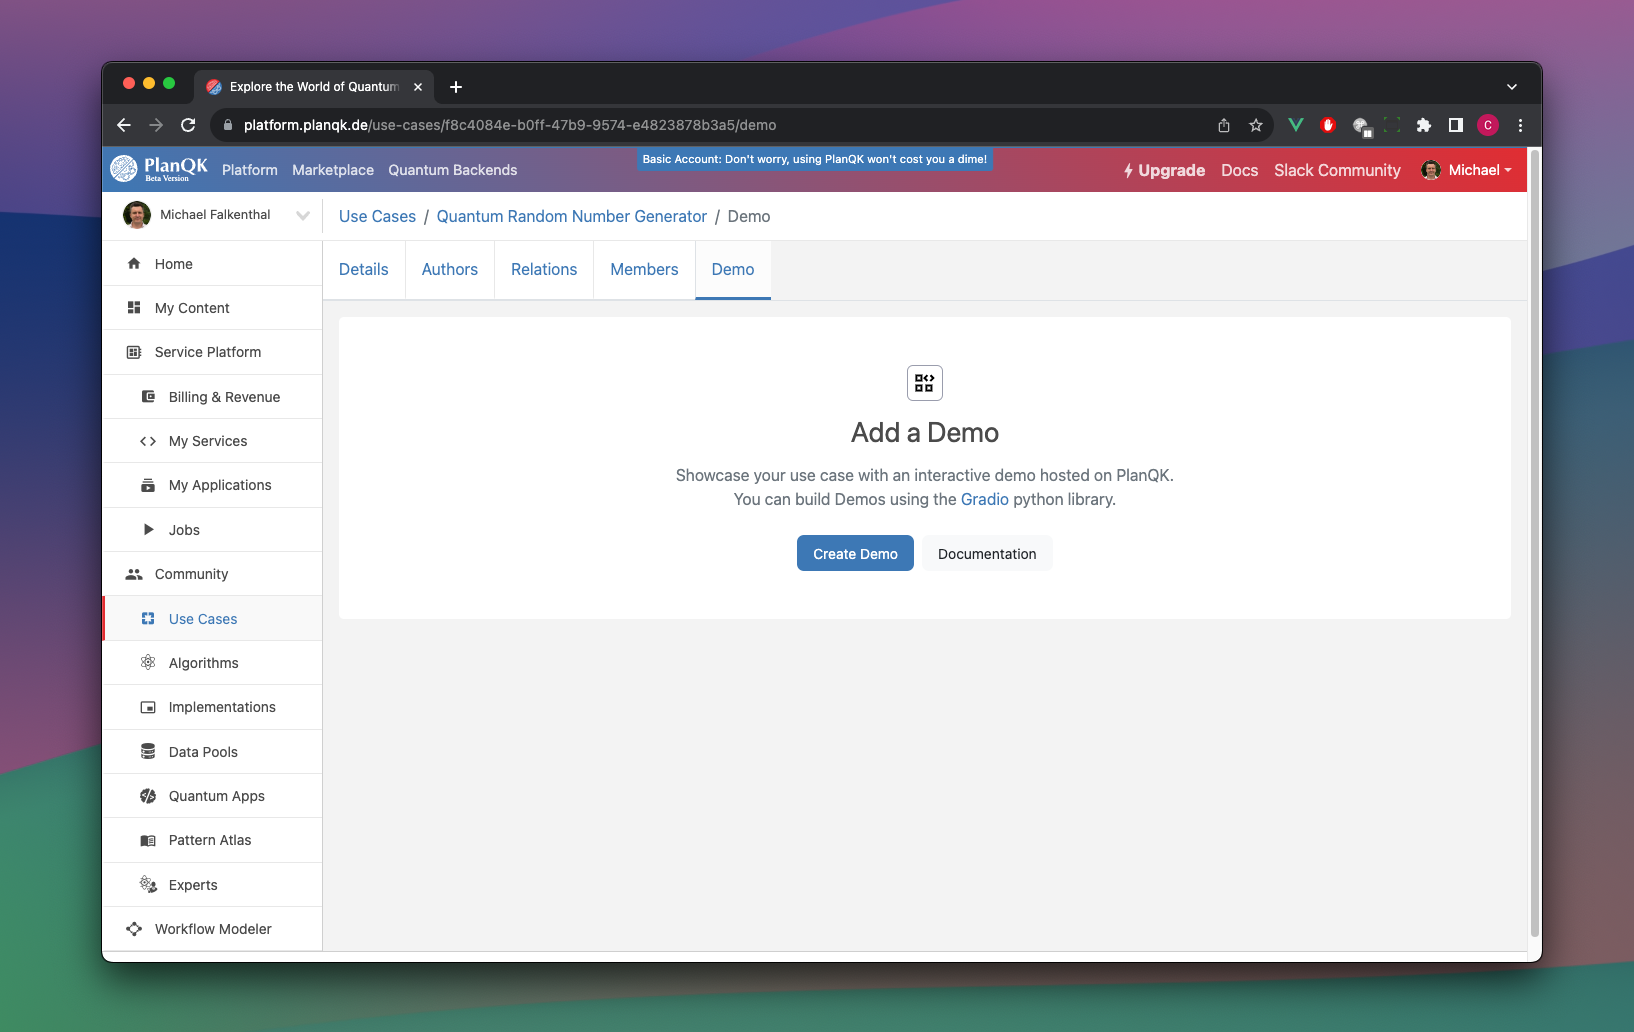
To deploy a Demo for your Use Case click on the Demo tab of your Use Case and click on the Create Demo button.
You will be asked to connect your GitHub account (if you haven't done so already) and to select a repository. Select the fork of the Gradio starter template you created earlier by clicking on Connect. That's it, you deployed your first Demo!
But there is one more thing. In order to make your Demo work we need to set some environment variables. Learn how to set environment variables.